SVGs are awesome, but not everything supports them. Unity especially. For SVGs stored on your Linux server, this is a quick Command-Line solution.
____________________________________________________________
Get To Your Files
Whether you're running this one file at a time or in batches with a script, you'll want to start in the folder your svgs are in.If you don't want to...
I think you can indicate the path within filename, but I'm not sure.
____________________________________________________________
Install Inkscape
Inkscape has to be installed on your server for this to work. This should be totally easy, but if you might want to check the docs.Essentially, you enter this as root.
apt-get updateapt-get install inkscape
____________________________________________________________
Run the Command
This will call inkscape to read the svg file and export it as a png. If you want to branch out, here's a good referenceRun this code on all the svgs This will make a png copy in the same directory. :D
inkscape filename.svg --export-png=filename.png
If you want to define what the 'empty' background color is, try it this way
inkscape filename.svg --export-background=ffffffff --export-png=filename.png
____________________________________________________________
Enjoy your PNGs :D
____________________________________________________________
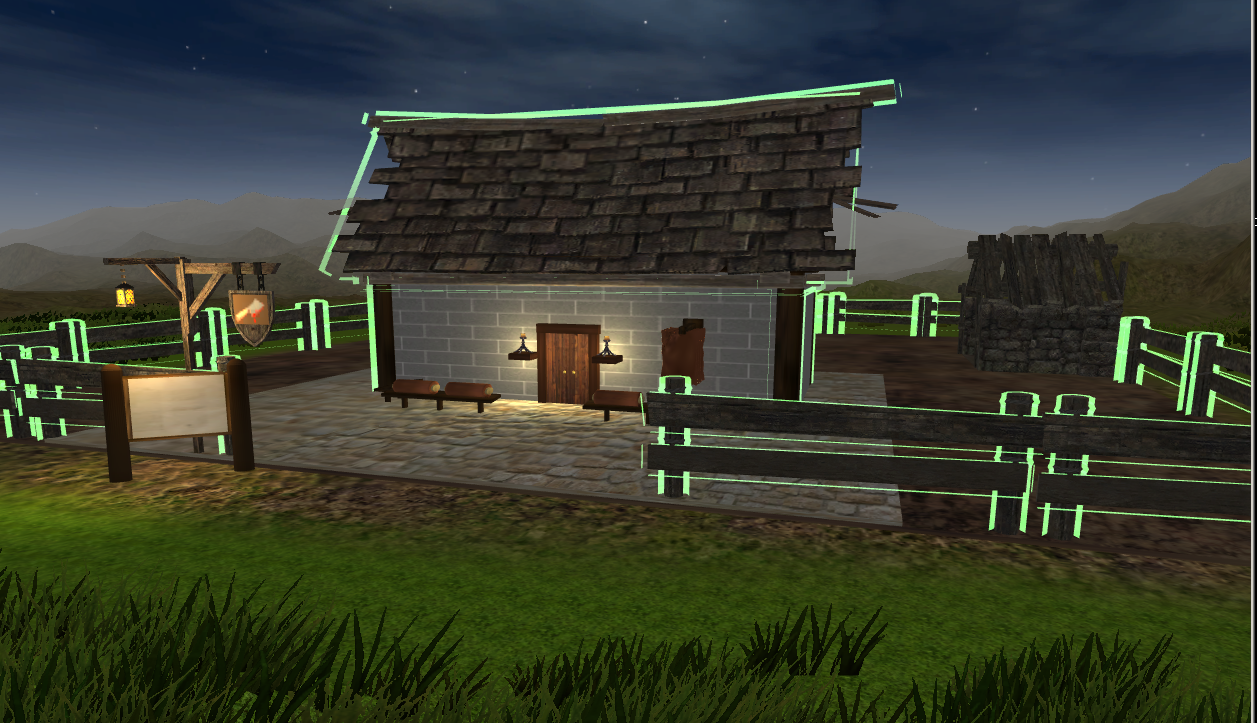
All blog posts by UnityGirl are inspired by my work with Brunelleschi: Age of Architects on the Aesop Games team. Download the current Unity client On IndieDB